Ultimate7e: Flashing the bootloader
We’ve now got a nice new processor installed in our 7e and we need to flash a boot loader onto it. The bootloader we need is the 256K variant that PhracturedBlue has so nicely modified for us. It is based on the original stock Walkera bootloader, but allows for files larger than 128K to be uploaded. You can find it from the links that I put in the “DeviationTX: Build environment and tools” post. I’ll assume that you’ve also already acquired and installed the other items from the post. You’ll want to download the file named “devo7ebootloader_256.bin”.
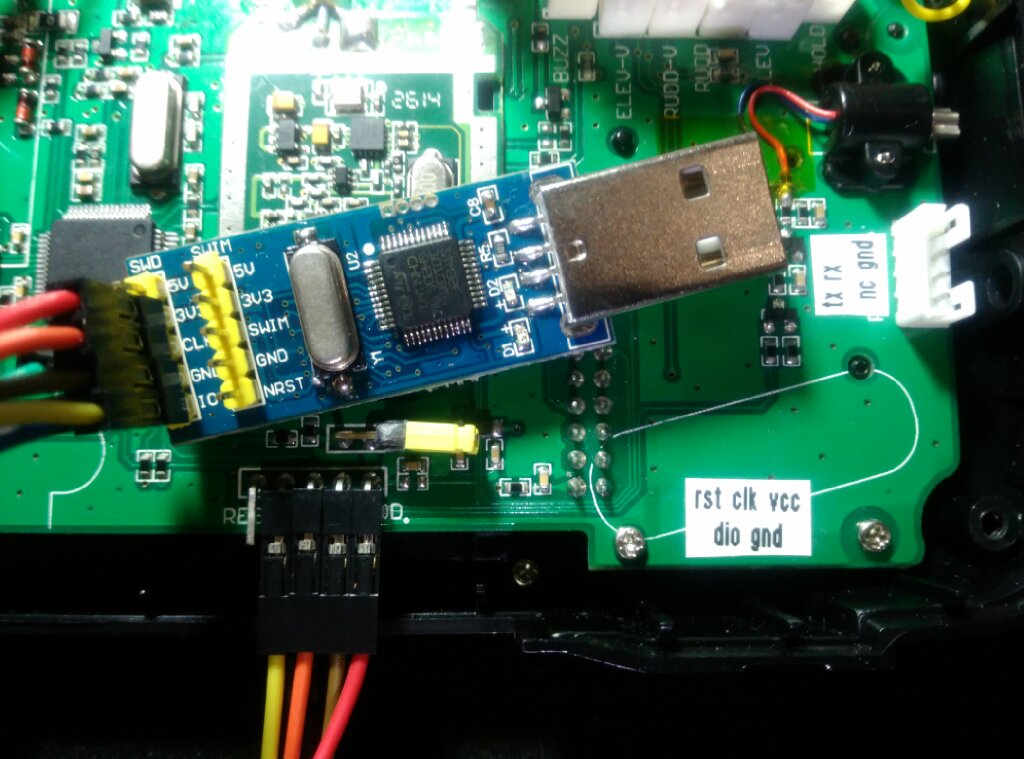
There are 3 sets of pads on the main board that we are interested in:
Programming Header: Connects to our ST-Link programmer. We’ll use the right 4 pins (ignore the RST pin) which are SDIO, CLK, GND, and VCC(VDD).
BOOT0: BOOT0 needs to be shorted together on power up.
Power Switch Bypass: If your ST-Link programmer does not provide power, you will need to have your battery hooked up and the bypass pins need to be shorted together to power up. Alternatively you can also reach around and turn on the power switch.

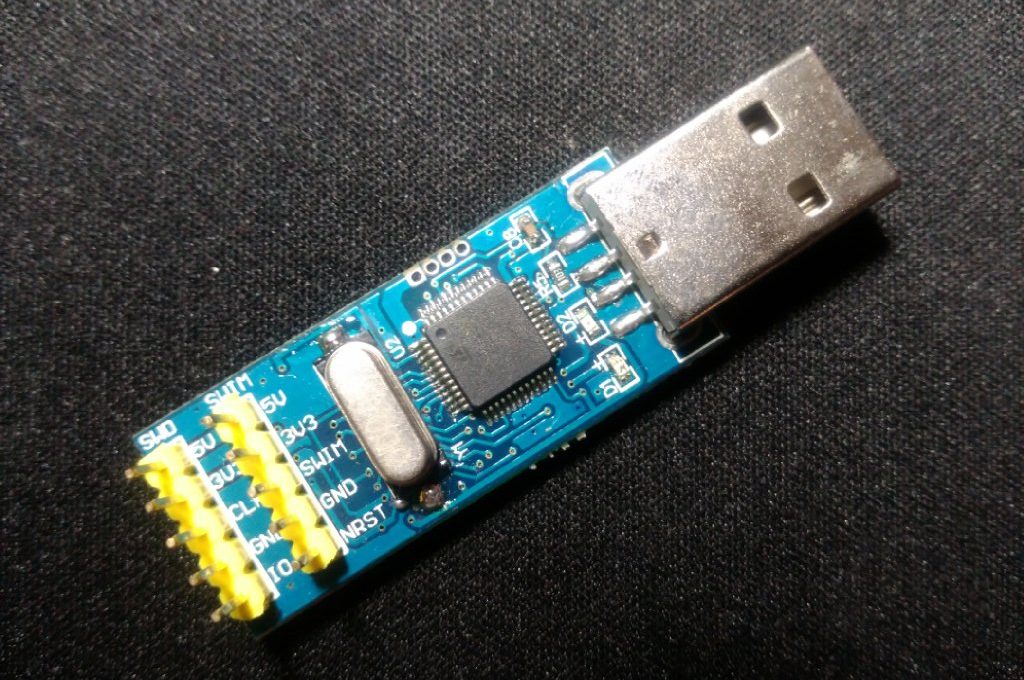
On our ST-Link programmer, we will want to use the SWD port and the pins that we will want to use are 3V3, CLK, GND, and IO(SDIO).
WARNING: DO NOT HOOKUP THE 5V PIN! YOU WILL KILL THE PROCESSOR!

Everything is wired up. Notice the jumper I put on the BOOT0 pin. Please check and recheck that pins are connected properly and in the right order. Especially the power (VCC/VDD/3V3) and ground. Most mistakes that kill the board happens because of wiring error. Don’t plug the USB end to your computer yet.

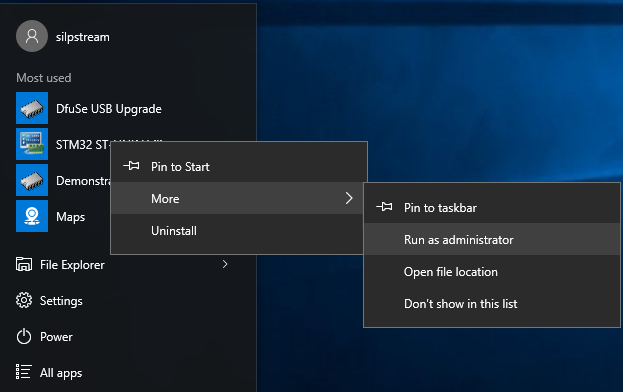
Start up the ST-Link Utility programme on your computer. You will need to right click on it and have it “Run as administrator”. When Windows prompts you for permission, remember to click on “Yes”.

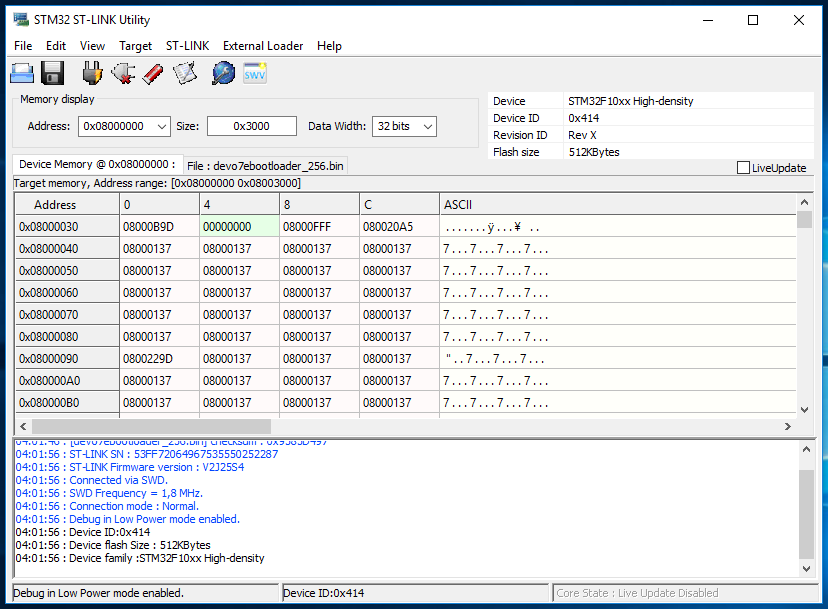
Once the programme is running, go ahead and connect the ST-Link programmer to your computer. We will now try to connect by going to the menu and clicking on “Target -> Connect” or clicking on the 3rd icon from the left that looks like a power plug. Make sure that the connection is successful, if not recheck your wiring.
Once you have successfully connected, do the following:
- Click on “Target -> Erase Chip” or the 5th icon from the left. Select “Yes” when it asks if you want to continue.
- Click on “File -> Open file” and select the “devo7ebootloader_256.bin” bootloader file that you should already have downloaded to a local drive.
- Click on “Target -> Program & Verify”.
- Make sure that “Start address” is set to “0x08000000” and select either of the verification modes (both work fine).
- Click “Start” button.
Once it is done, check you status window to see that everything went well. If it did, select “Target -> Disconnect” or the 4th icon from the left. Disconnect the wiring, remove the BOOT0 jumper and reassemble your radio.
Congratulations! You have just successfully upgraded your processor and are now ready to install DeviationTX with the Walkera Dfuse tool!


